Installation
This document describes how to install Function Mesh based on your application in Kubernetes.
Install Function Mesh
This section describes how to install Function Mesh through the install.sh script or through the Helm.
Prerequisites
Before installing Function Mesh, ensure to perform the following operations.
- Kubernetes server v1.17 or higher.
- Create and connect to a Kubernetes cluster.
- Create a Pulsar cluster in the Kubernetes cluster.
- Install Helm v3.
- (Optional) enable Role-based Access Control (RBAC).
Install cert-manager
By default, Function Mesh is enabled with the admission control webhook. Therefore, you need to prepare the relevant signed certificates. Secrets that contain signed certificates are named with the fixed name function-mesh-admission-webhook-server-cert, which is controlled by the Certificate CRD.
It is recommended to use cert-manager to manage these certificates and you can install the cert-manager as follows.
helm repo add jetstack https://charts.jetstack.io
helm repo update
helm install \
  cert-manager jetstack/cert-manager \
  --namespace cert-manager \
  --create-namespace \
  --version v1.8.0 \
  --set installCRDs=true
Install Function Mesh through install.sh script
Note
The
install.shcommand is suitable for trying Function Mesh out. If you want to deploy Function Mesh in production or other mission-critical scenarios, it is recommended to install Function Mesh through Helm.
This example shows how to use the install.sh command to install Function Mesh on your laptop (Linux or Mac OS), including a local kind cluster, all the Custom Resource Definitions (CRDs), required service account configuration, and Function Mesh components.
curl -sSL https://github.com/streamnative/function-mesh/releases/download/v0.16.0/install.sh | bash
After executing the above command, you should be able to see the output indicating that the Function Mesh pod is up and running. For details, see verify installation.
Install Function Mesh through Helm
This example shows how to install Function Mesh through Helm.
Note
For the use of
kubectlcommands, see kubectl command reference.
Add the StreamNative Function Mesh repository.
helm repo add function-mesh http://charts.functionmesh.io/
helm repo update
Install the Function Mesh Operator.
Set some variables for convenient use later.
export FUNCTION_MESH_RELEASE_NAME=function-mesh  # change the release name according to your scenario
export FUNCTION_MESH_RELEASE_NAMESPACE=function-mesh  # change the namespace to where you want to install Function Mesh
Install the Function Mesh Operator.
Note
- If no Kubernetes namespace is specified, the
defaultnamespace is used. - If the
${FUNCTION_MESH_RELEASE_NAMESPACE}namespace does not exist, you can create the Kubernetes cluster using the--create-namespaceparameter.
helm install ${FUNCTION_MESH_RELEASE_NAME} function-mesh/function-mesh-operator -n ${FUNCTION_MESH_RELEASE_NAMESPACE}- If no Kubernetes namespace is specified, the
There are some configurable parameters of the Function Mesh Operator. For details, see Function Mesh Operator configurations.
Check whether Function Mesh is installed successfully.
kubectl get pods -n ${FUNCTION_MESH_RELEASE_NAMESPACE} -l app.kubernetes.io/instance=function-meshOutput
NAME                                               READY   STATUS    RESTARTS   AGE
function-mesh-controller-manager-5f867557c-d6vf4   1/1     Running   0          8s
Install Function Mesh using OLM
This section describes how to install Function Mesh using Operator Lifecycle Manage. OLM is a tool to manage the Operators running on your cluster.
Install the Operator Lifecycle Manager (OLM).
curl -sL https://github.com/operator-framework/operator-lifecycle-manager/releases/download/v0.24.0/install.sh | bash -s v0.24.0Define a manifest.
Here is a sample YAML file.
apiVersion: operators.coreos.com/v1alpha1
kind: Subscription
metadata:
  name: my-function-mesh
  namespace: operators
spec:
  channel: alpha
  name: function-mesh
  source: operatorhubio-catalog
  sourceNamespace: olm
  config:
    env:
    - name:
      value:
Install the Function Mesh Operator.
kubectl create -f <path/to/your/yaml/file>The Function Mesh Operator will be installed in the operators namespace and will be used for all namespaces in the cluster.
Check whether Function Mesh is installed successfully.
kubectl get csv -n operators
Install Function Mesh using OpenShift Web Console
This section describes how to install Function Mesh using the OpenShift Web Console.
Navigate to your OpenShift Web Console and login to the OpenShift cluster as an Administrator role.
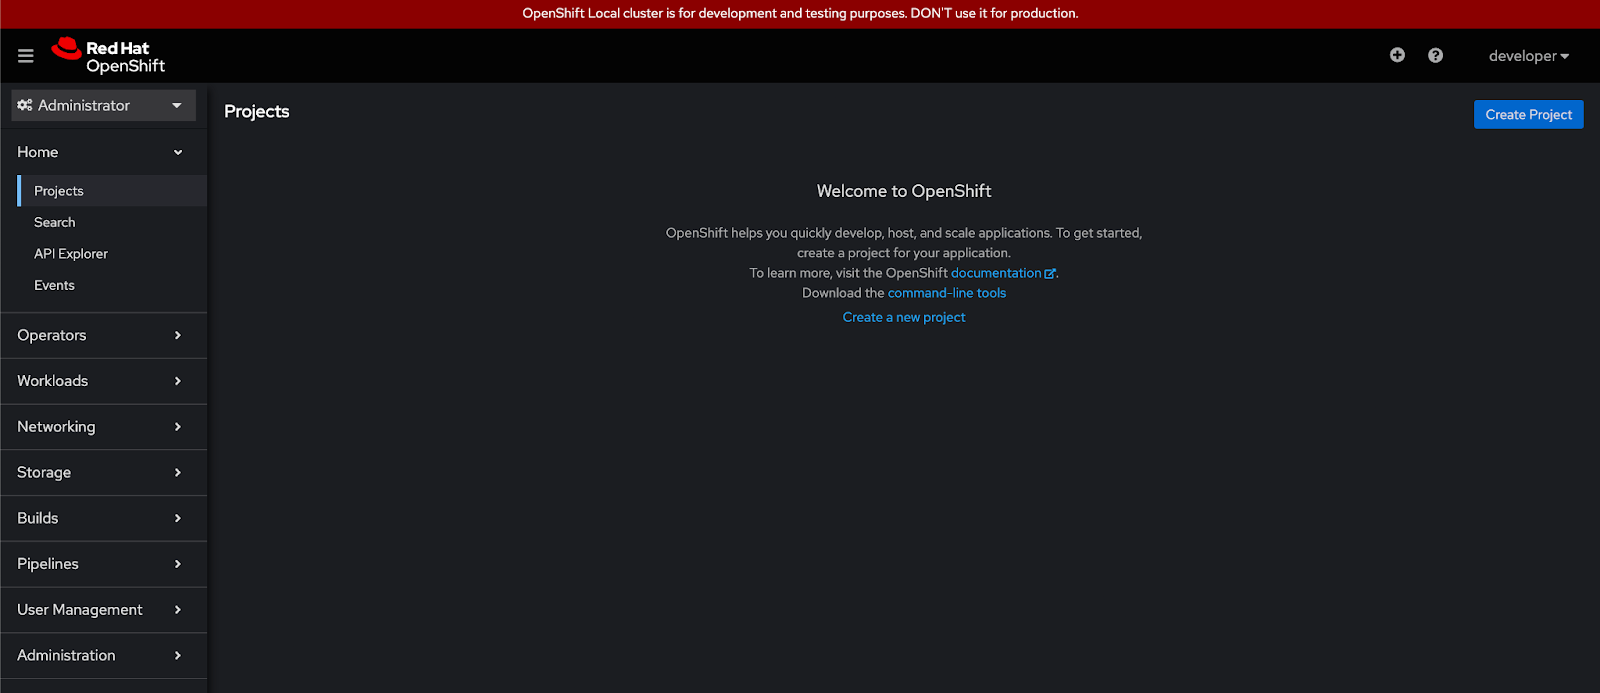
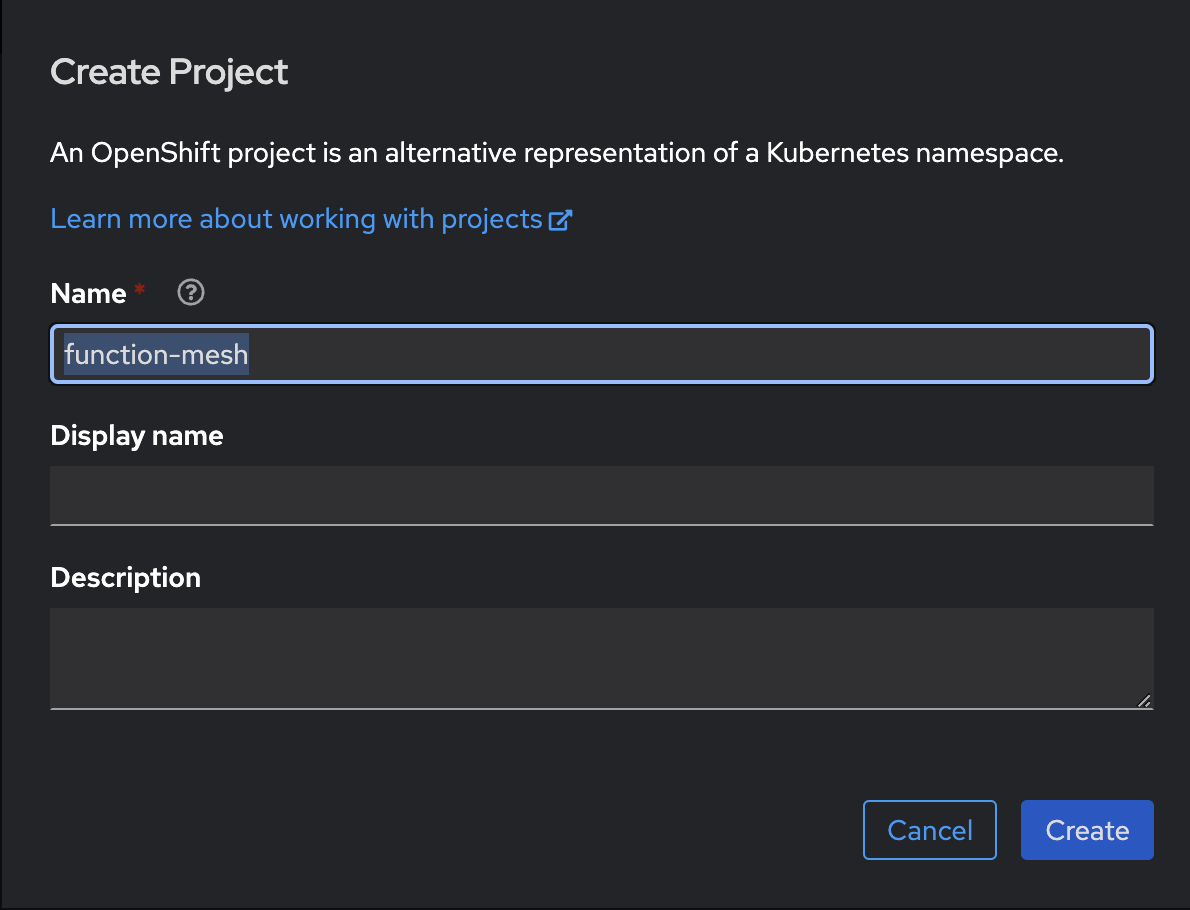
Create a new project or select an existing one.
Find the Operators on the OperatorHub of OpenShift. You can search for the keyword "FunctionMesh" or "StreamNative".
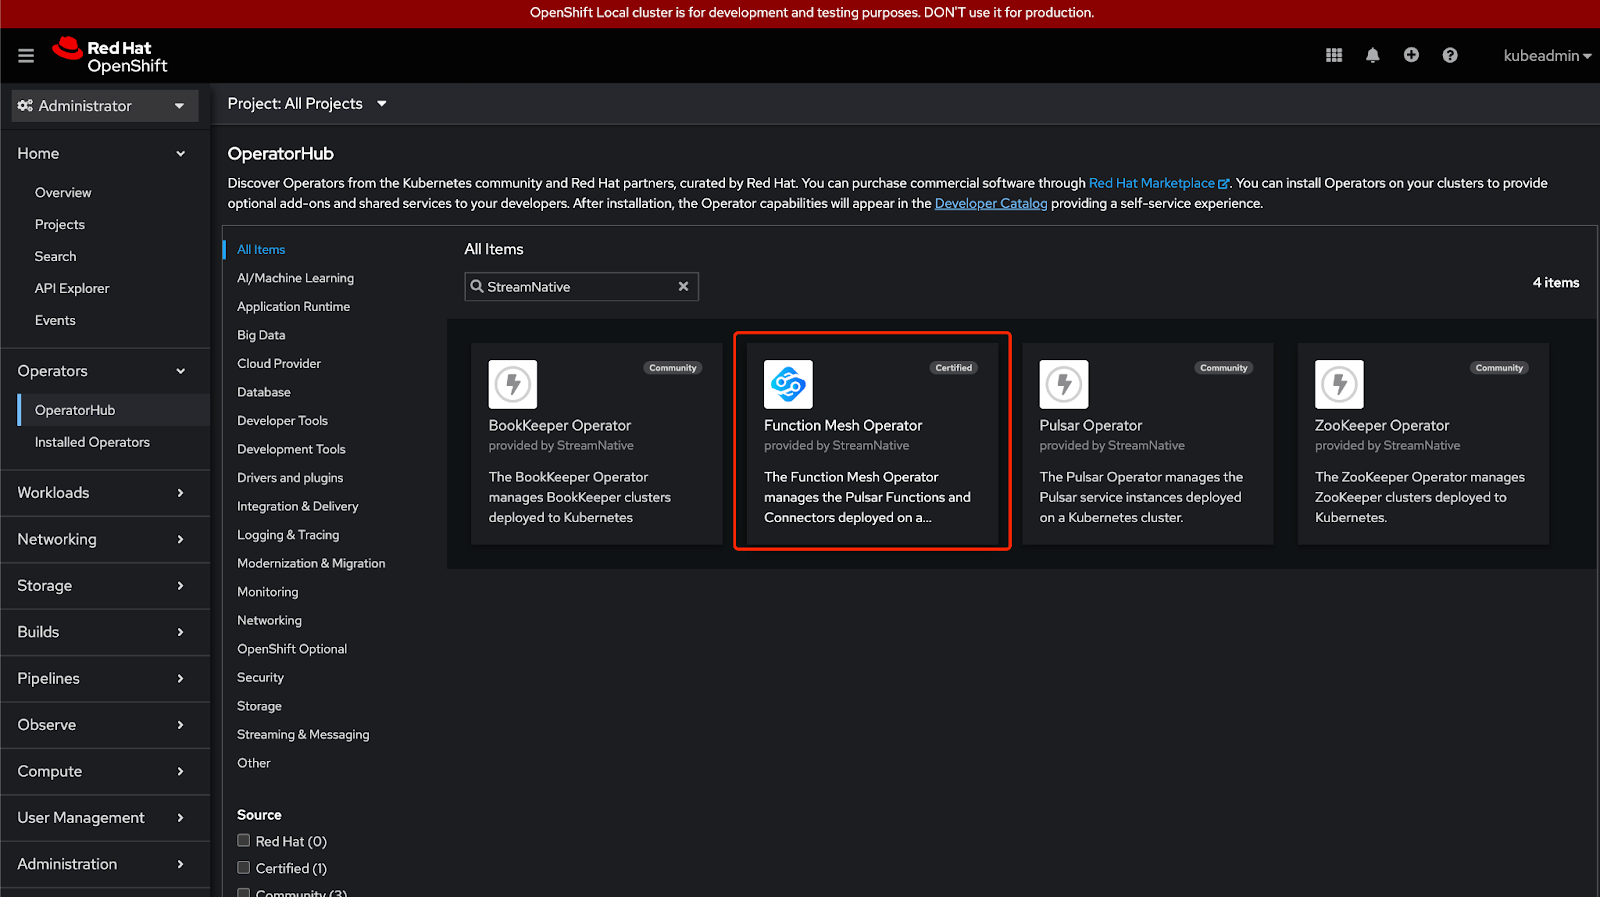
Click the Function Mesh Operator tile, and then click Install.
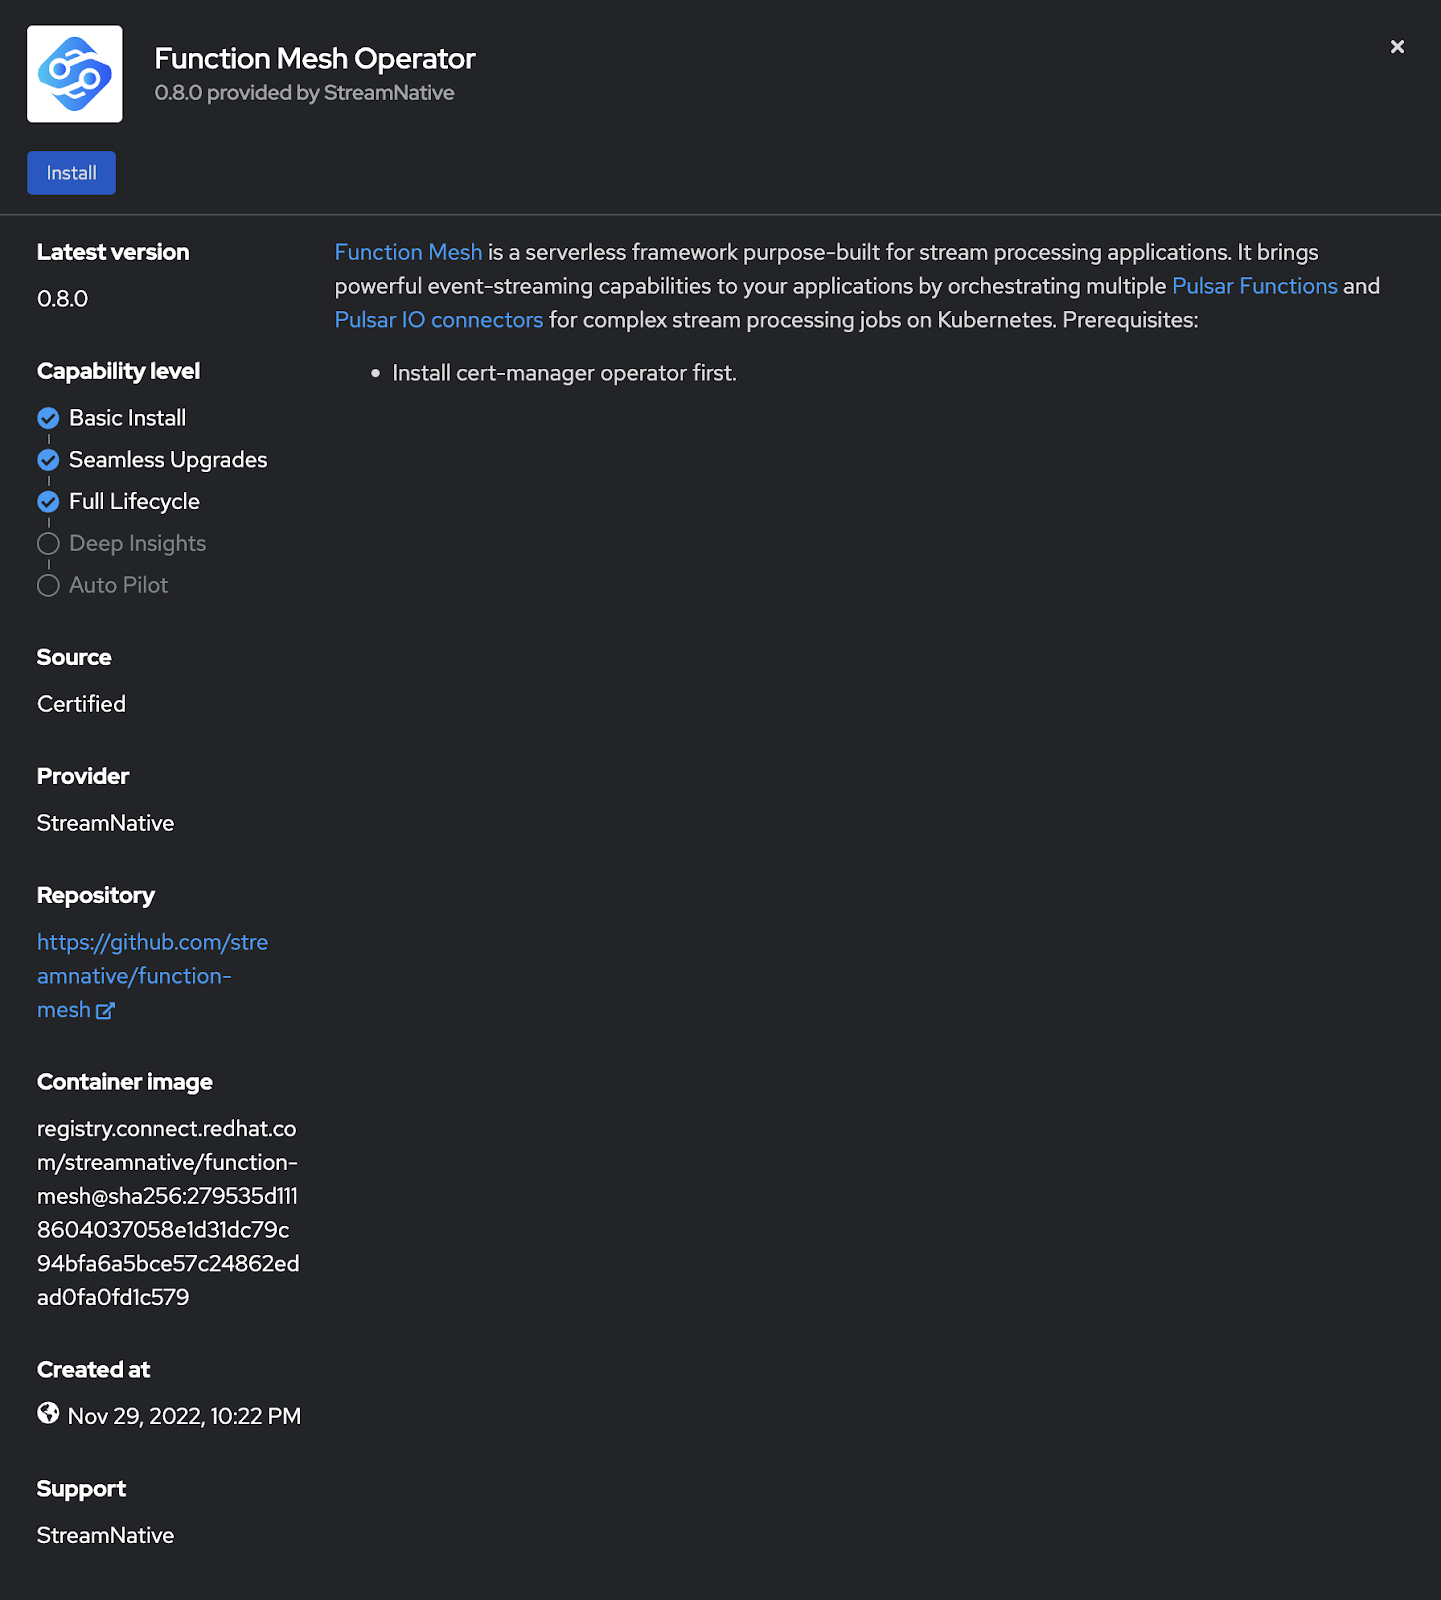
Customize the configurations.
- Installation mode
- All namespaces on the cluster (default): deploy the Function Mesh Operator with cluster-scoped permissions.
- A specific namespace on the cluster: deploy the PulFunction Meshsar Operator with namespace-scoped permissions.
- Updated Approval
- Automatic: automatically install or update the Function Mesh Operator.
- Manual: manually install or update the Function Mesh Operator.

- Installation mode
Click Install. A page displays, showing the Function Mesh Operator installation process.
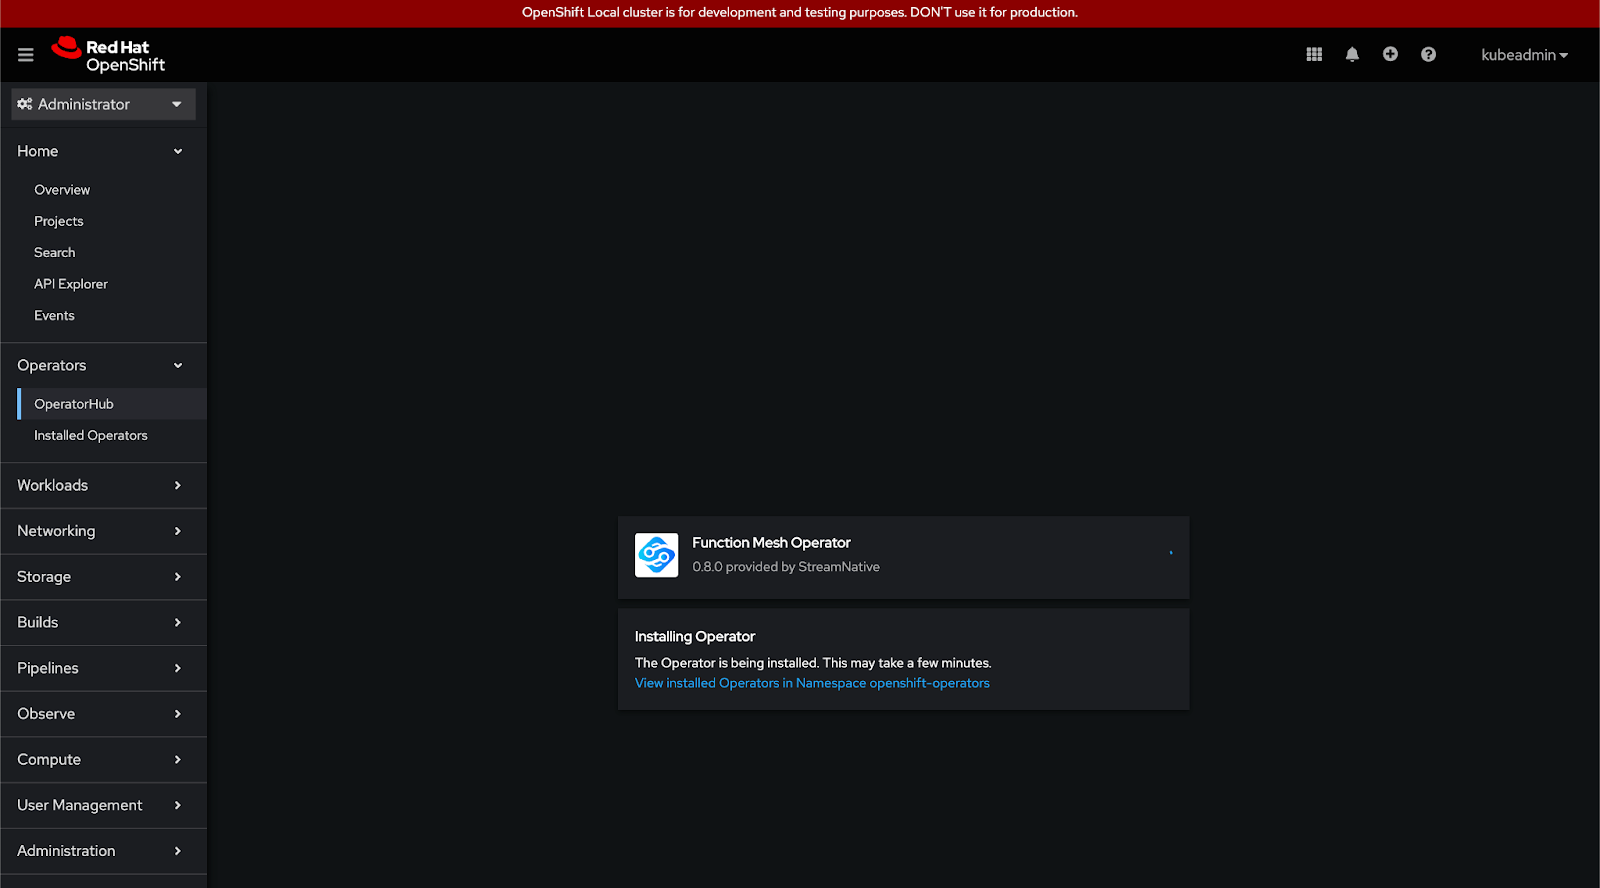
After the Operator is installed, you can see the new status Installed operator - ready for use.

Verify installation
This example shows how to verify whether Function Mesh is installed successfully.
kubectl get pods -n ${FUNCTION_MESH_RELEASE_NAMESPACE} -l app.kubernetes.io/instance=function-meshOutput
NAME                                               READY   STATUS    RESTARTS   AGE
function-mesh-controller-manager-5f867557c-d6vf4   1/1     Running   0          8s
This example shows how to verify whether Function Mesh can run properly.
After installing the Function Mesh Operator and deploying a Pulsar cluster, you can submit a sample CRD to create Pulsar Functions, source, sink, or Function Mesh. In this example, a CRD is submitted to the Pulsar cluster for creating a Pulsar Function. You can also submit other CRDs under the
./config/samplesdirectory.Update your Pulsar cluster configurations in the CRD.
# in config/samples/compute_v1alpha1_function.yaml
...
apiVersion: v1
  kind: ConfigMap
  metadata:
  name: test-pulsar
  data:
    webServiceURL: http://<YOUR_PULSAR_URL>:8080
    brokerServiceURL: pulsar://<YOUR_PULSAR_URL>:6650
...
Submit a sample CRD to the Pulsar cluster.
kubectl apply -n ${FUNCTION_MESH_RELEASE_NAMESPACE} -f config/samples/compute_v1alpha1_function.yamlVerify your submission with the
kubectlcommand, and you can see that the Function pod is running.kubectl get all
NAME READY STATUS RESTARTS AGE
pod/function-sample-0 1/1 Running 0 77s
Uninstall Function Mesh
Use the following command to uninstall Function Mesh through Helm.
helm delete function-mesh -n ${FUNCTION_MESH_RELEASE_NAMESPACE}Remove the Secrets that contain the signed certificates.
Note
If you do not clean up the Secrets, you might fail to install the Function Mesh Operator in this environment. For details about how to automatically clean up the corresponding Secrets when you delete a Certificate, see Cleaning up Secrets when Certificates are deleted.
kubectl delete secret function-mesh-admission-webhook-server-cert -n ${FUNCTION_MESH_RELEASE_NAMESPACE}